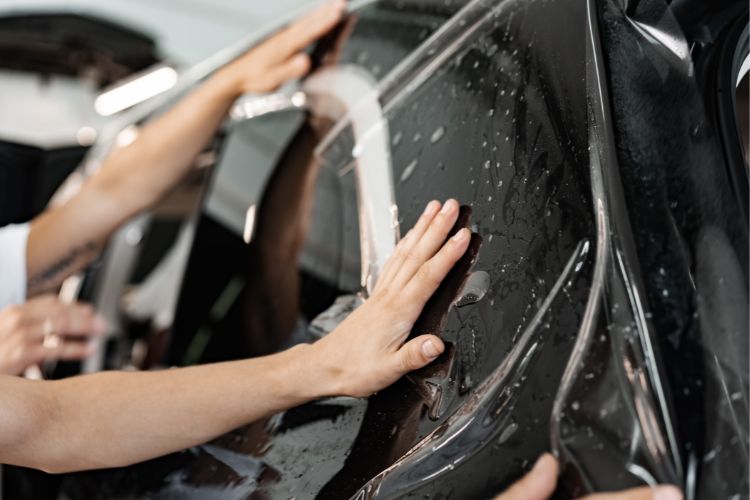


Al Omari Advertising Agency offers a professional car sticker removal service, performed directly at your location across the Kingdom. This saves you a lot of time and the hassle of repeatedly trying to remove old stickers and advertising text from your buses or fleet of vehicles.
If you’ve ever tried to remove sticker residue from your car, you may know that it’s a tedious task that can even lead to scratches on the car’s paint if not done correctly.
Therefore, we emphasize that risking removing it yourself without sufficient experience and the right tools can lead to undesirable results. It may be better to leave this task to experts to avoid any potential damage. Learn about the different methods and steps for removing sticker residue from your car.
Why choose Al Omari for our car sticker removal service?
When completing the car sticker removal process, you may notice a difference in the paint color between the areas that had the stickers and the areas that have been exposed to the weather and sun for a long time.
For this reason, we highly recommend adding a “polishing and finishing” service after removing the stickers. This will unify the contrasting colors and remove any surface scratches in the paint, restoring your vehicle to its original, consistent appearance.
Book now and benefit from our expertise in maintaining your fleet’s best appearance, while ensuring the paint is protected from any damage during the sticker removal process.
The most important tools for removing car stickers
To ensure the proper removal of car stickers, it is essential to prepare all the required tools and supplies in advance.
The essential tools include: a heating device (heat gun) or a hair dryer to soften the adhesive, a plastic scraper to gently lift the sticker, a product designed to dissolve stubborn adhesive residue, and a microfiber cloth to wipe off excess glue.
If a heat gun is not available, a hair dryer can be used instead. These tools work together to facilitate the sticker removal process while protecting the car’s surface from damage.
Moreover, preparing these supplies will help complete the sticker removal process successfully without causing any damage to the bus’s paint or finish, enhancing the vehicle’s appearance and ensuring complete protection.
How to Remove Stickers from Your Car Easily and Without Damaging the Paint
Do you have a sticker on your car that you’d like to remove easily? Perhaps you applied it when you were younger, or perhaps it was applied by a previous owner.
But don’t worry; you can remove this sticker without damaging your car’s paint by following these simple steps. Follow along with our method to get a clean, new-looking car.
1. Clean the Sticker Thoroughly
Start by cleaning the sticker using warm water and soap to ensure you remove dirt and grime that could scratch your car’s paint while removing the adhesive residue.
Then, use a cloth or sponge with soap and water and wash the sticker and the surrounding area thoroughly. Alternatively, you can choose to clean your car at a car wash before beginning the sticker removal process.
2. Heat the Sticker
After cleaning, the next step is to heat the sticker to soften the adhesive and facilitate its removal. A hair dryer is the best tool for this task; it provides the appropriate heat without damaging the car’s paint.
If necessary, use an extension cord to reach the car, set the dryer to the highest heat setting, and distribute the heat evenly over the sticker, especially the edges, for about two minutes.
If you don’t have a hair dryer, you can pour boiling water over the sticker to heat the adhesive. However, be careful of the mess and the possibility of repeating the process several times until the adhesive is sufficiently softened.
3. Remove the Sticker
Do this step immediately after heating the sticker. Have a plastic card ready, such as a rewards card or an old card. The card must be plastic, as knives or razor blades can easily scratch the paint.
Then, use the plastic card around the edges of the sticker, then try to lift it off the car. If you heat the sticker sufficiently, you should be able to remove it with your hands.
4. Use an Adhesive Remover or Vinegar
Once you’ve removed the sticker, you may notice a sticky residue on your car’s surface. This is normal. You can use household items like distilled white vinegar. Simply apply a small amount to a cloth and rub it over the sticky area.
Or, use an adhesive remover, which is more effective. Apply the product to a cloth and rub it over the area, or follow the instructions on the packaging.
Tips for Easier Removal of Car Stickers in the Future
Removing car stickers without damaging the paint is a multi-step process. If you want to replace a new sticker in the future, you can follow a few tips to make the removal process easier.
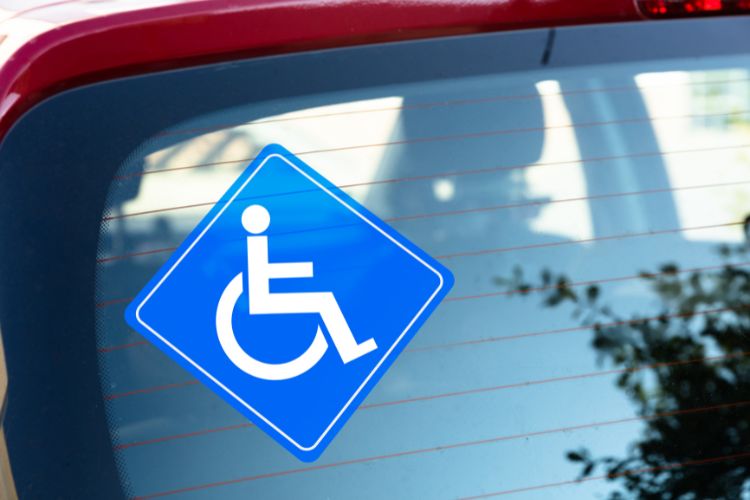
Instead of applying the sticker to your bumper, try applying it to your car’s rear window. This makes the removal process easier and saves you from worrying about the paint.
If you prefer to apply the sticker to your bumper, you can attach it to a magnet designed for bumpers, allowing you to easily remove the magnet at any time.
When applying a sticker directly to your car’s paint, be sure to clean, dry, and wax the surface before applying the sticker. This helps protect the paint and makes removal easier in the future.
With these steps, you can maintain your car’s appearance and make the process of removing stickers less complicated and damage-free, especially if you’re using vinyl car stickers.
Common Mistakes to Avoid When Removing Car Stickers
Car windshield stickers are a great way to express your personality, but when the sticker becomes unsightly or you want to remove it, it’s important to know the correct way to remove it without damaging the glass.
To save time and avoid damaging your windshield, follow these tips:
1. Follow a Plan
Like any successful project, removing a sticker requires a clear plan. Think of the process as four steps: cleaning, removing, and removing.